Resetting Your Makeup Bag!
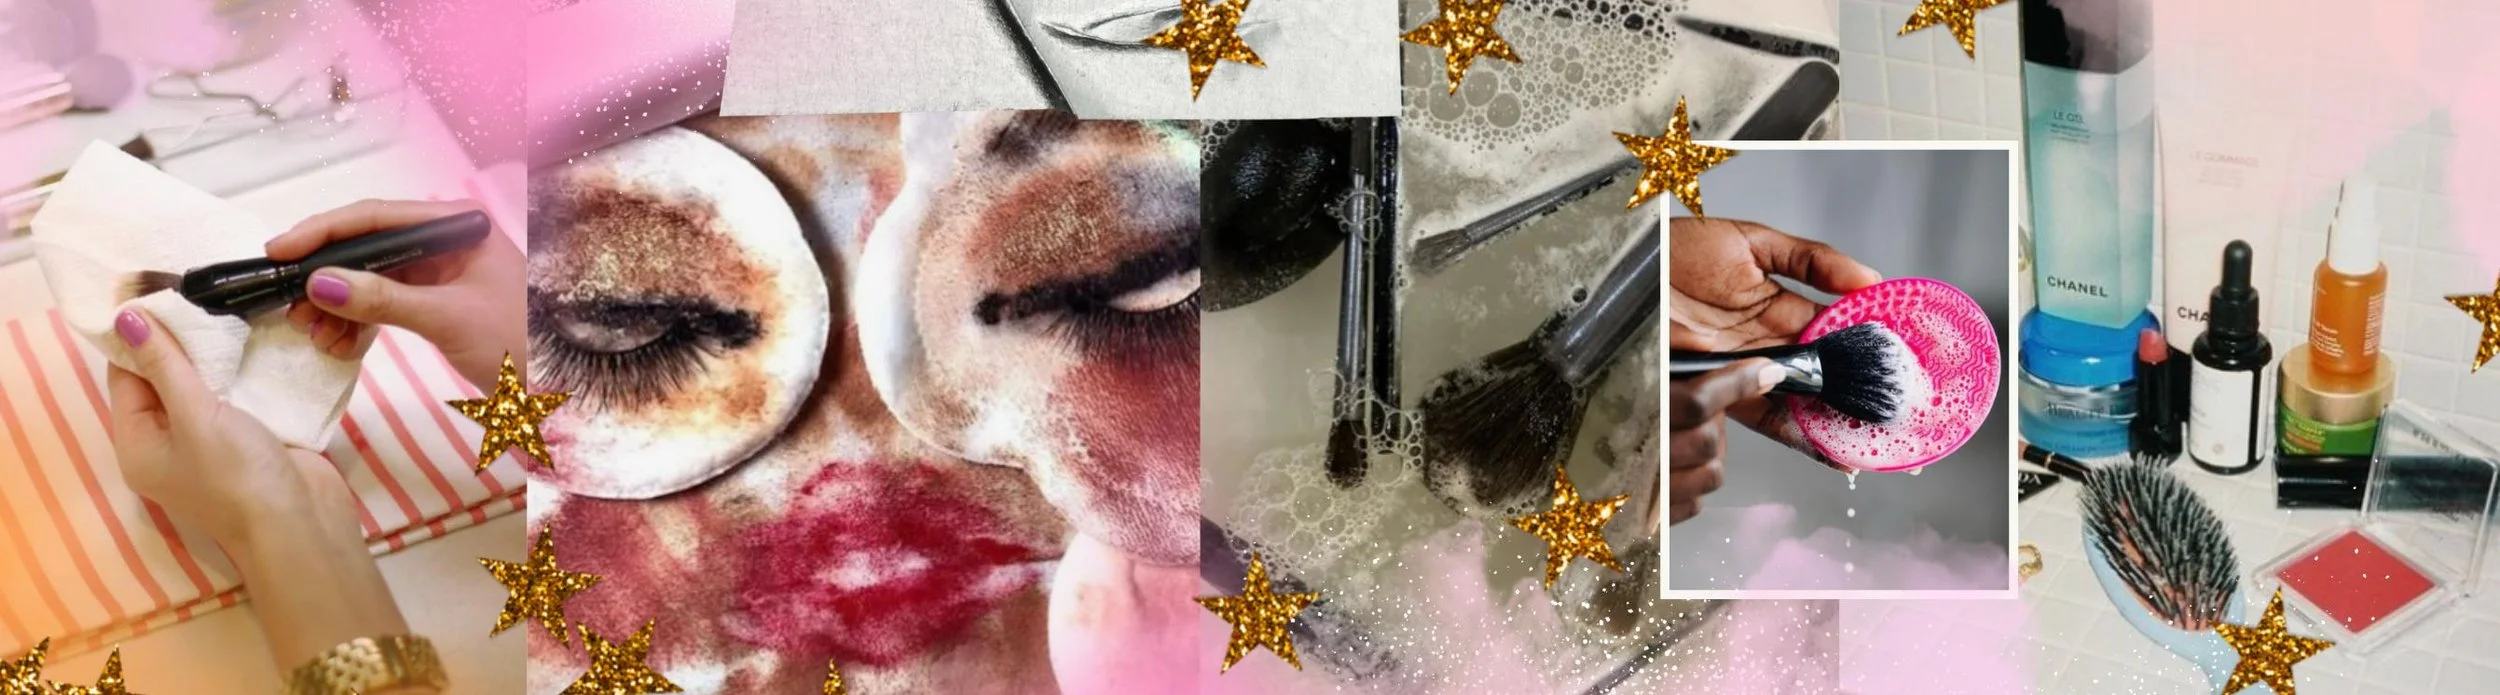
This is how to reset your makeup bag without spending lots of money
For most of the year, the bottom of my makeup bag is none of my business: broken spoolies, crushed shadows and licks of dried concealer decorate the lining. But when Jan hits, it’s time for a reset!
You’ll be relieved to know that I don’t mean spending hundreds on a bunch of new products — think of the Jan reset as more of a spring clean than a completely fresh start. To do this, I like to tackle three key things: the bag itself, the brushes and tools, and the makeup formulas.
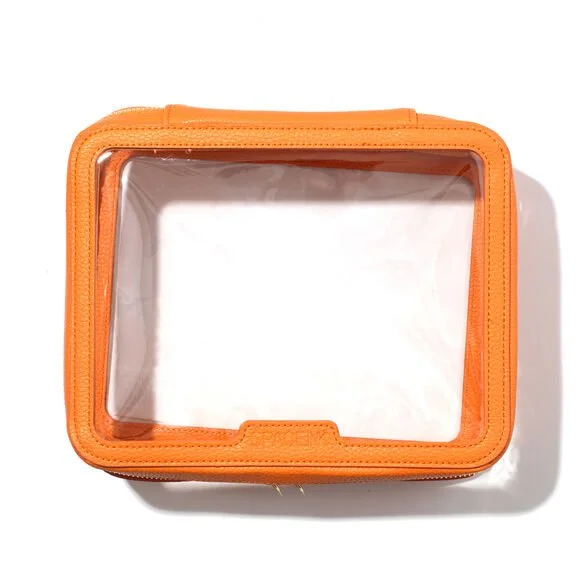
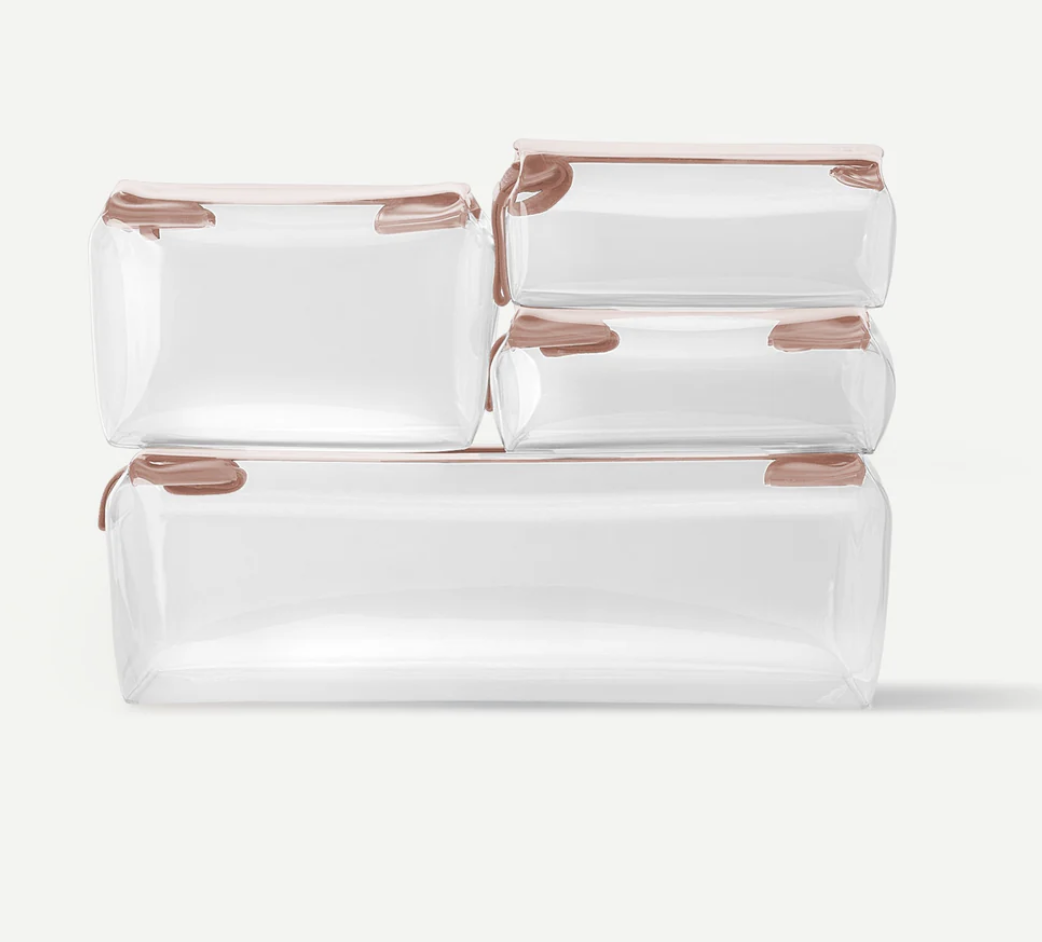
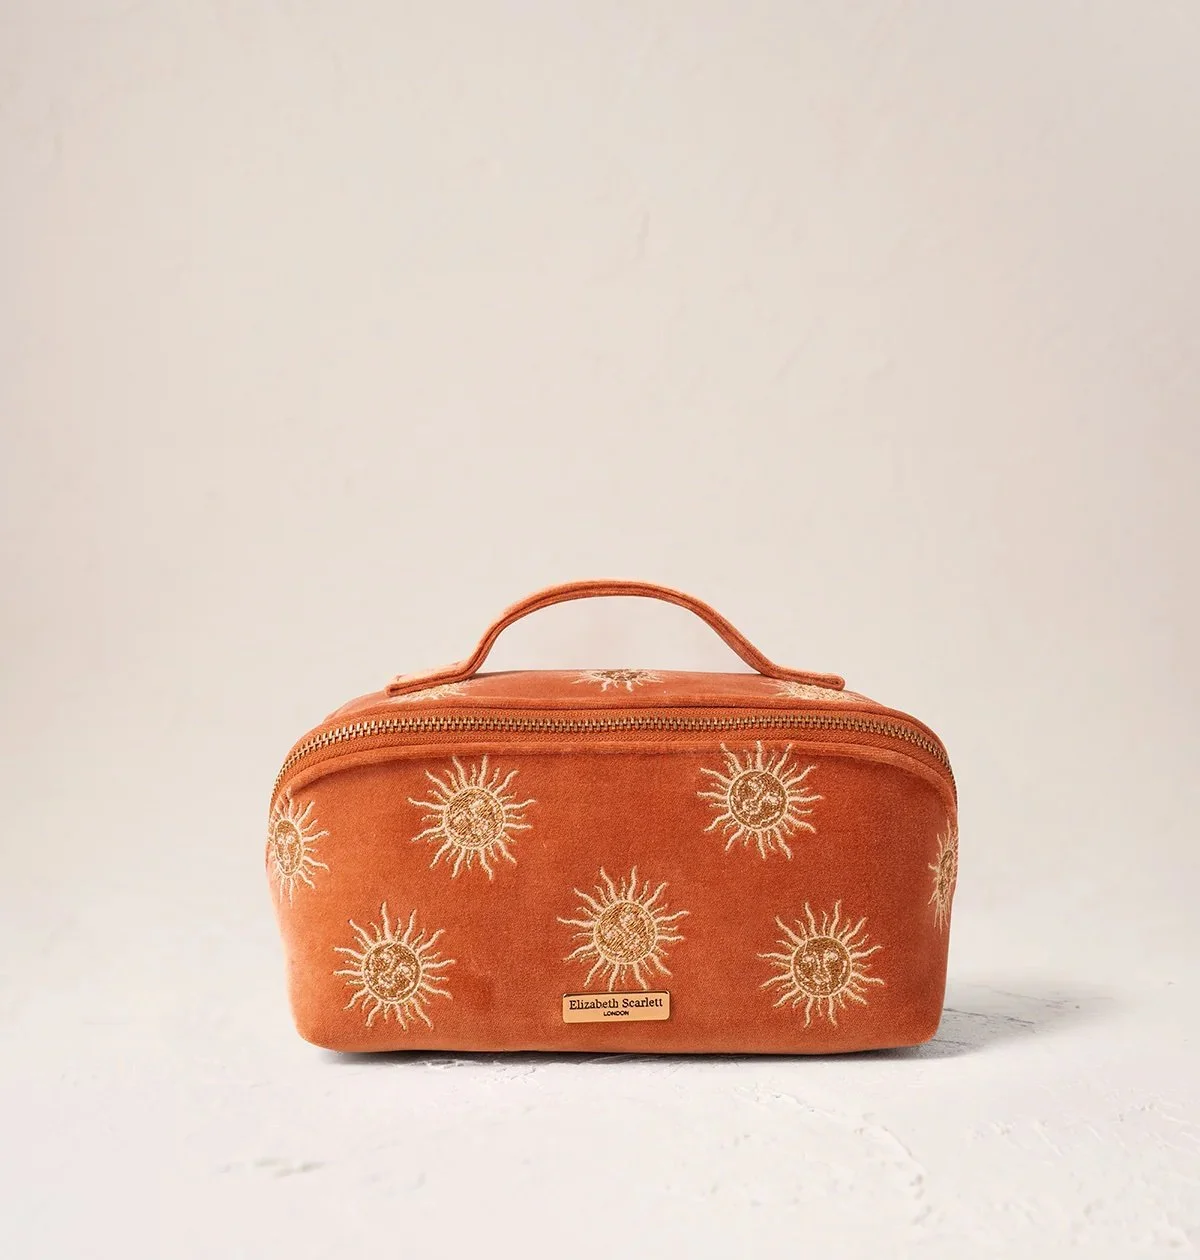
Step one: the bag
When’s the last time you washed your makeup bag? I’m guessing… never? I’m not judging, but the inside of your makeup bag can be a magnet for dirt, oils and bacteria, which is a recipe for disaster. Plus, there’s nothing worse than reaching for a product only to find the packaging covered in makeup goop from something that’s spilled.
So, whack your makeup bag in the wash. I’m serious — empty it out and then put it in the washing machine. If you spilled some foundation or concealer inside it, it’ll probably come out of the machine still stained, but at least it’ll be clean.
If your bag is made of leather (or another washing machine-averse material) and you don’t think it can go in the machine, empty it anyway and give it a really thorough wipe-down.
Then leave it to dry. It’s important that you don’t get impatient and miss this step, because you don’t want to fill it back up while it’s damp and encourage bacteria growth.
Some of my fave make up bags
Step two: the brushes
Next, let’s tackle the tools. Ideally, you should be washing your brushes quite regularly, but it’s easy to forget to – there’s no judgement from me! This is why I like to use the January reset to get back on top of them all. Washing your makeup brushes removes acne-causing bacteria and can help your makeup go on better. If you struggle with sensitive or reactive skin, this is a step that you don’t want to miss. And you don’t even need any fancy formulas – good old shampoo will do! Again, make sure you let everything dry properly before use.
For a step-by-step guide to washing your brushes with pictures, read this.
Step three: the products
Alright, let’s talk about the actual makeup formulas. This is where things get tricky, because you don’t want to waste money on all-new products, but you also don’t want to risk using formulas that have gone off.
Just like food produce, your makeup formulas have an expiration date. Liquids generally expire quicker than powders, and you need to be particularly careful about products that go near your eyes. Expired mascaras, for example, can cause eye infections.
As a general rule of thumb, chuck your mascara approximately every three months or if it looks dry. When it comes to the rest of your products, don’t be afraid to use your nose. If something’s starting to smell a bit old, get rid of it. If your powders look like they’ve changed colour, consider scraping the top layer off or, if it’s been a really long while, letting go. This Grazia article dives into the dangers of expired makeup more with a dermatologist.
All formulas, even unopened ones, expire eventually – especially if they’re made with more natural ingredients or they’re heavily oil based. To find out if your products have expired, check the packaging. There’s usually a “Period After Opening” (PAO) symbol near the ingredients list, which looks like a little open tub of cream. Inside this symbol, there should be an “M” for “month”, preceded by a number, which indicates how long you can keep the product after opening it. So, if it says “3M”, it means your formula will last for three months after opening.
That’s it! I hope you enjoy a satisfying makeup bag reset this month. Make sure you send me photos! And comment below if you have any questions.
Love,
Lisa xx