How to Use Concealer & Colour Corrector Like A Pro
I love concealer nearly as much as I love my husband… I said nearly!
And honestly? It deserves the hype. Concealer isn’t about hiding things; it’s about enhancing skin in a really targeted and intelligent way. When used properly, it can lift, brighten, balance tone and bring everything together in seconds.
Yet, it’s still one of the most misused products out there. So, in a bid to get you concealing like a pro, allow me to break things down properly. Ahead, I’ll show you what to use, where to use it, and how to get that seamless, skin-like finish that we all really want.
Choosing the right concealer (this is where most people go wrong!)
Not all concealers are created equal and, more importantly, they’re not meant for the same areas of the face.
If you take one thing from this, let it be that placement and texture matters more than coverage level.
Liquid Concealer:
Best for: undereyes and anywhere you want light, flexible coverage
Lightweight, liquid formulas tend to contain humectants (like glycerin), which help draw moisture into the skin. That’s why they sit better under the eyes; they move with the skin instead of settling into fine lines. They’re also brilliant for a soft, brightening effect.
And yes, I absolutely use them all over the face too.
Top Picks:
NARS Radiant Creamy Concealer– brightening, creamy, blends beautifully
Maybelline Instant Eraser Eye Concealer– affordable, great for yellow undertones
Armani Luminous Silk Concealer– contains glycerin and vitamin E for hydration
Dior Forever Skin Correct – concealer + corrector hybrid with great coverage
Hourglass Vanish Airbrush Concealer – fuller coverage but still smooth and skin-like
Charlotte Tilbury Airbrush Flawless Concealer – brightening with a soft-focus finish
Pro tip: choose one shade lighter for the undereyes to subtly lift the face.
Cream Concealer:
Best for: the rest of the face and targeted coverage
Cream formulas are more pigment-rich and slightly thicker, which makes them ideal for areas that need a bit more evening out (think: around the nose and chin).They blend beautifully into the skin and give that polished, perfected finish without needing loads of product.
Top Picks:
Laura Mercier Secret Camouflage – an industry staple for precise correction
Bobbi Brown Creamy Concealer Kit– includes a setting powder (which is great for oily skin)
Glossier Stretch Concealer– flexible, skin-like, anti-cakey finish
Kevyn Aucoin The Sensual Skin Enhancer - a multi-tasker that gives a soft-focus finish
Pro tip: always match your skin tone exactly for blemishes and redness.
Let’s talk colour correcting (the real game changer)
Colour correcting isn’t about adding more makeup, it’s about using colour theory to neutralise tone before you even apply concealer. When you get this right, you actually use less product overall and the result looks far more like real skin.
When using colour correctors, you want to follow two key rules: choose the right tone, and use the tiniest amount possible. We aren’t aiming for full coverage here, just subtle correction. You’re balancing, not masking.
Quick guide:
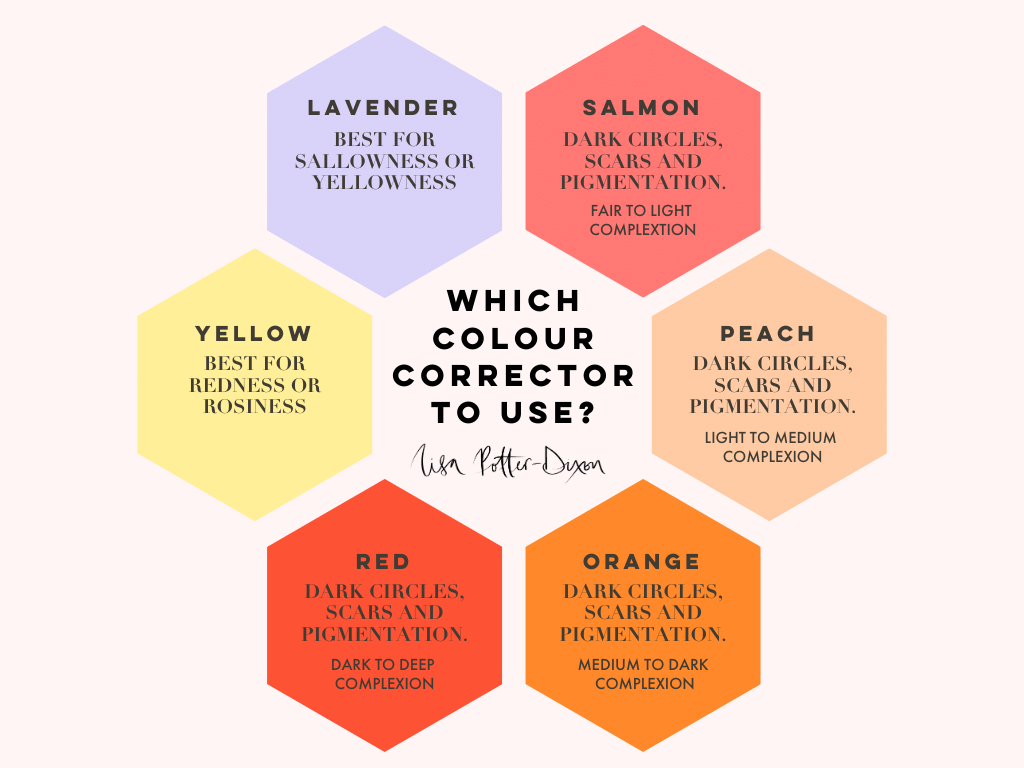
Peach/orange → neutralises blue/purple hues, often found in dark circles or where there’s deeper pigmentation
Yellow → softens redness
Green → counteracts strong redness (Use sparingly, if at all, as green is a bit scary. You can use your other colour correctors if you prefer!)
Do your skincare, leave it for a few minutes to soak in, then apply your colour correctors. I like to use my fingers to really work them into the skin. Take your time with this step; you’re going to be covering it with your foundation and concealer, so you really want to work it into the skin.
Best Colour Correctors:
NYX Colour Correcting Palette – affordable, great all-rounder
MAC Studio Fix Conceal & Correct Palette – pro-level coverage, wide shade range
Charlotte Tilbury Magic Vanish – perfect for under-eye brightening
Kosas Revealer Extra Bright Corrector – skincare-led, lightweight
NARS Radiant Colour Corrector – creamy, natural finish
Application: where technique makes all the difference
Dark circles
The skin under the eyes is up to 40% thinner than the rest of the face, which is why discolouration shows more easily. Add in things like dehydration, genetics, or lack of sleep, and voilà! You’re home to some serious shadows.
Instead of placing concealer directly under the eye, try this:
Apply in a soft triangle shape (inner corner → down to cheek → back up to outer eye)
Blend upwards to lift the face
Take a small amount over the eyelid too for overall brightness
This creates a more lifted, awake effect rather than just “covering circles”.
To blend, I tend to use a fluffy eyeshadow brush or my finger. Or both! The warmth of your finger helps to blend and manipulate a formula, while a brush helps to blend in any edges to make it look flawless.
My Make-up Brush Edit Blog Here
Redness / Rosacea
Combatting excessive redness is all about controlling heat and tone.
Use a yellow (or very soft green) corrector first
Apply foundation over the top
Then use a concealer that matches your skin tone, not a lighter one
Pro tip: Avoid using fingers here as heat can bring redness back through. A cool, damp sponge works beautifully to keep everything calm and even. My faves are:
My Kit Co My Blender Duo
Best Colour Correctors for Redness:
Clinique | Redness Solutions Instant Relief Mineral Press Powder
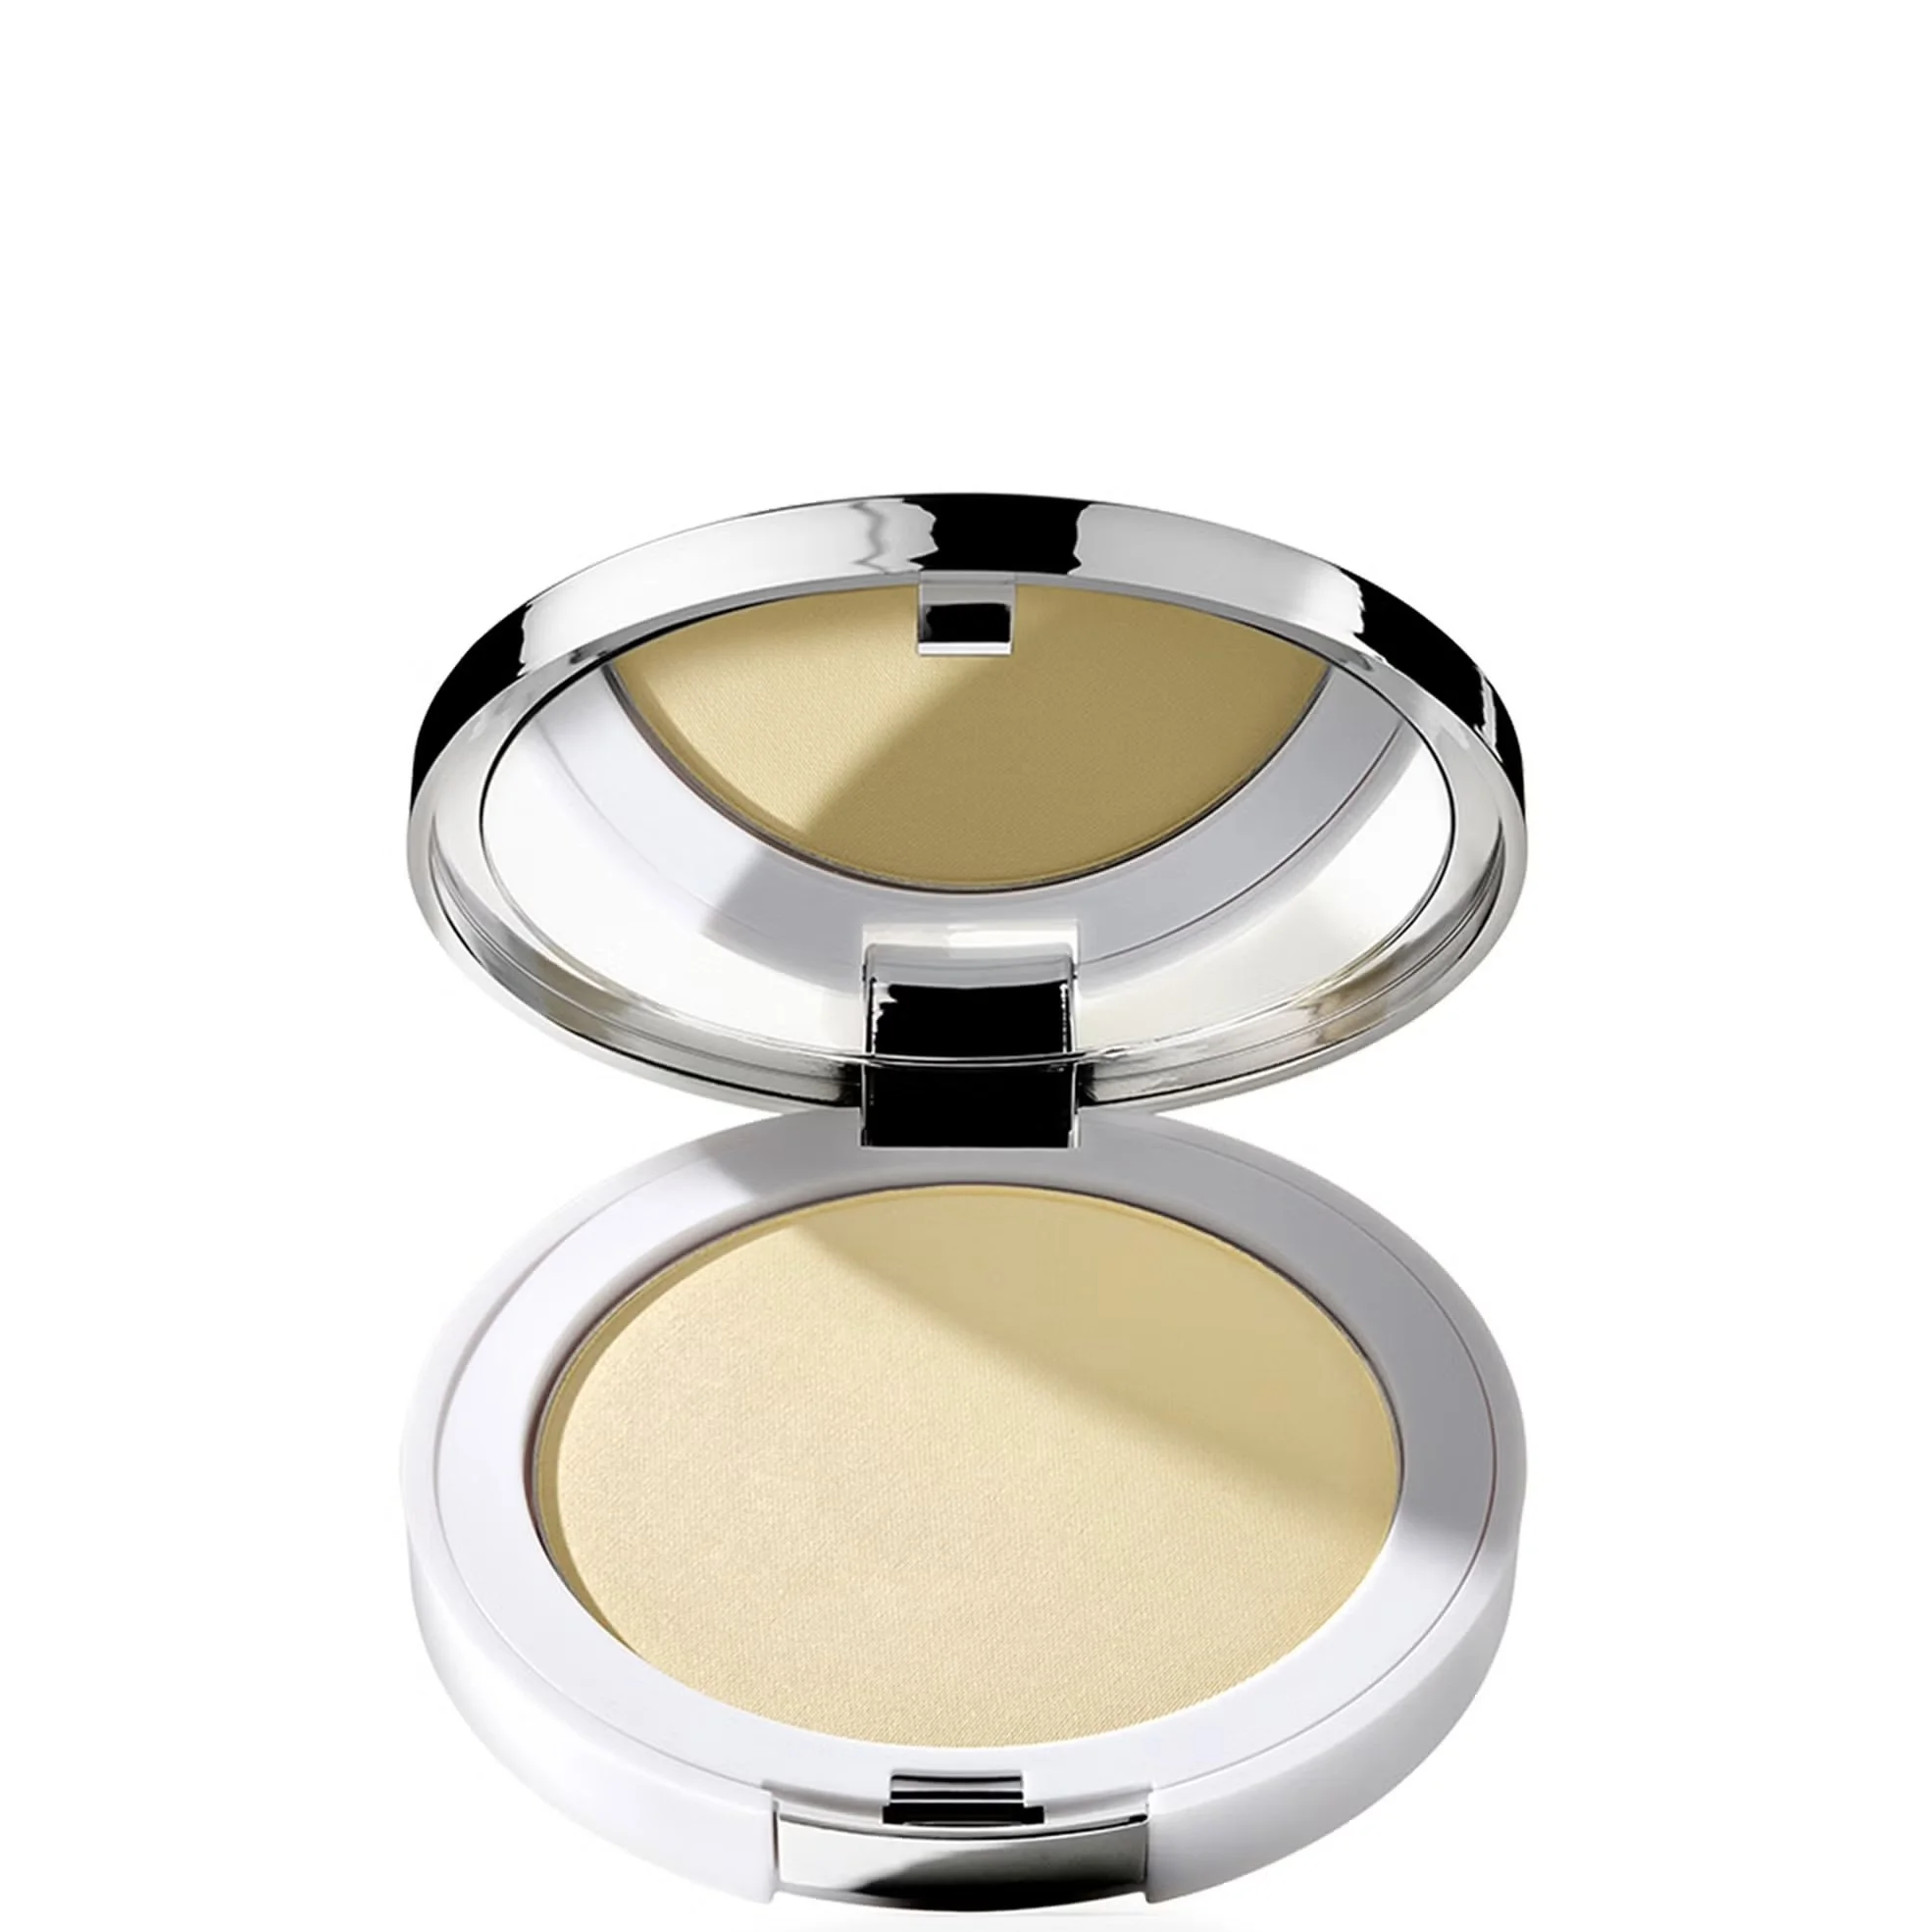
The powder formula is very easy to use, especially for large areas
A lightweight, creamy texture that works well for precise redness removal
Hydrating and lightweight. A little goes a long way
Pigmentation
Pigmentation sits deeper in the skin, so piling on concealer won’t fix it. In fact, it can sometimes make it even more obvious.
Instead, try using a peach or orange corrector first. Press it into the skin (don’t rub) and then apply foundation. Lightly tap concealer on top where needed. Less really is more here.
And I have to say it: SPF is non-negotiable if pigmentation is a concern. Every. Single. Day. (That’s for all of you!)
Top SPFs for wearing under makeup: The Ultimate SPF Guide 2025
Ultrasun Anti-Pigmentation SPF50 - lightweight, not greasy, and helps brighten hyperpigmentation
La Roche-Posay Anthelios SPF50 - a go-to for sensitive skin
Murad City Skin SPF50 - protects against pollution, blue light and infrared radiation as well as UV rays
Shiseido Expert Sun Protector SPF30 - lightweight, breathable, and holds up well against water and sweat
Medik8 Advanced Day Ultimate Protect SPF50 - deeply hydrating
Rae Hybrid SPF50 (Marie Reynolds London) - delightfully soothing and strengthens the skin barrier
Future Fluid SPF50 SkinScreen - smooth, blurring finish works well under makeup
There are also some incredible skincare products out there to help with hyperpigmentation:
A concentrated skincare treatment for uneven skin tone, with compelling evidence behind it.
Suitable for all skin types and tones, even sensitive.
Promotes surface cell turnover for brighter, more even skin.
Blemishes
I know, I know, it’s so tempting to pile on the product. But the goal is to blend, not build height.
If possible, let your skin breathe
If covering, apply a tiny bit of yellow corrector
Add foundation
Then use a pinpoint brush to tap concealer directly onto the blemish
I then love using a clean, fluffy eyeshadow brush to diffuse the edges without disturbing the concentrated area. Just make sure you give any brush a good clean after it’s been on a blemish so that you don’t spread its bacteria.
And please… stop picking. (Said with love.)
My favourite spot treatments:
Kate Somerville EradiKate Spot Treatment - this will suck a juicy spot dry
Starface Hydro-Stars Pimple Patches - pretty and protective, need I say more?
ZitSticka - targeted spot patches that do more than just protect
Mario Badescu Drying Lotion - wear this overnight to power down a corker
A quick note on finish
The most modern-looking skin isn’t matte or heavy, it’s real, balanced, and dimensional.
So rather than covering everything:
Brighten strategically
Even out tone where needed
Let natural skin come through where it can
That’s what makes makeup look expensive.
Final thoughts
Concealer is one of the most powerful tools in your makeup bag, but only when used with intention.
It’s not about hiding. It’s about enhancing what’s already there. And when you get it right? You need less makeup, your skin looks better, and everything just works.
Love
Lisa xx
As always, I only ever recommend products I would use myself. This post may contain affiliate links that at no additional cost to you, I may earn a small commission.
This is mostly spent on repairing the shoes Diddy keeps chewing.